
Microsoft Bookings is one of the tools available in the Office 365 suite and can be used for scheduling appointments. Configuring Microsoft Bookings can be done in simple steps:
1. Log in to https://portal.office.com with your Office 365 login.
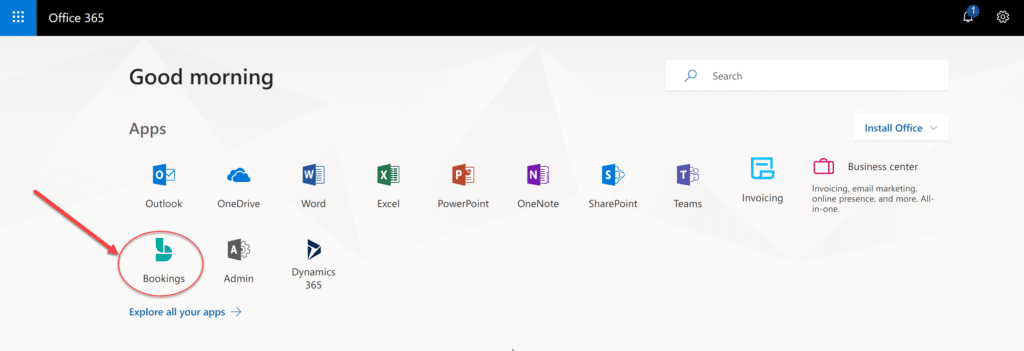
2. Select Microsoft Bookings from the list of applications:
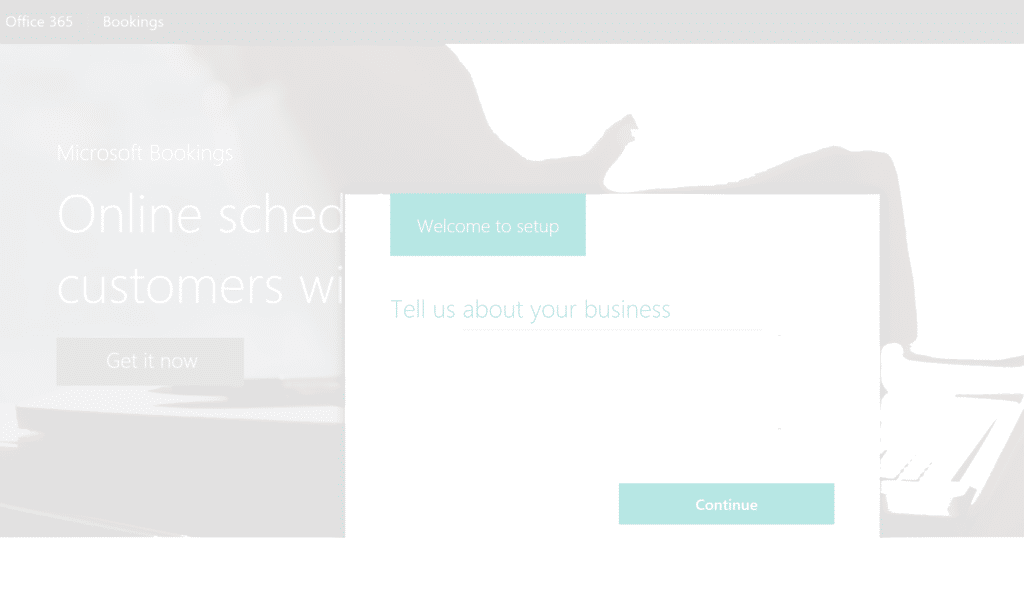
3. On the Welcome screen, click the Get It Now button.
4. Follow the wizard. The first time, you will be asked to enter your business information (company name ) to set up and get your Bookings page created.
Note: Keep the company name short (meaning do not extend it to a short paragraph or long sentence) as if the name is too long, it could throw an error and prevent you from moving to the next step.
5. Once the page is created, you will be taken to the Bookings home page.
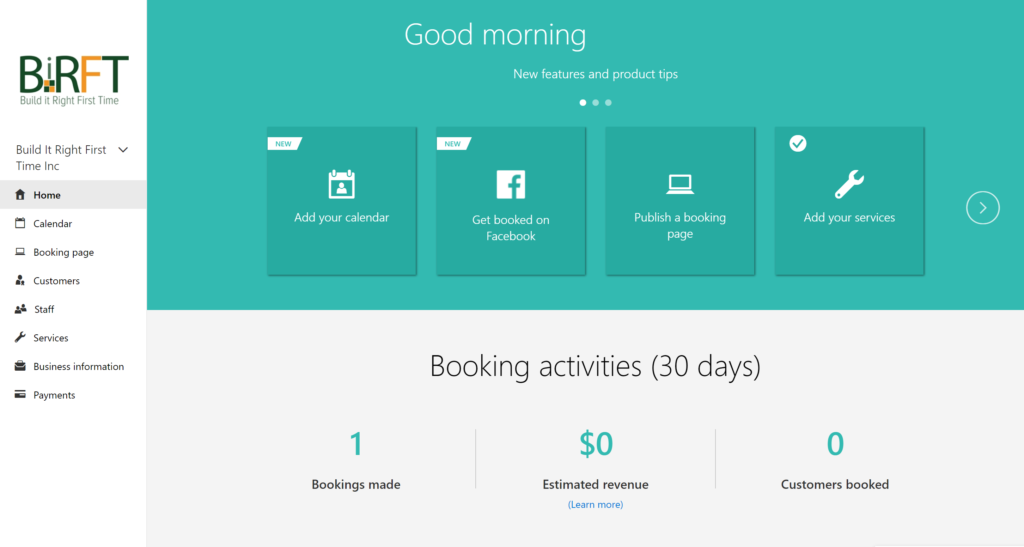
6. From there you can further configure your page by going to the appropriate sections:
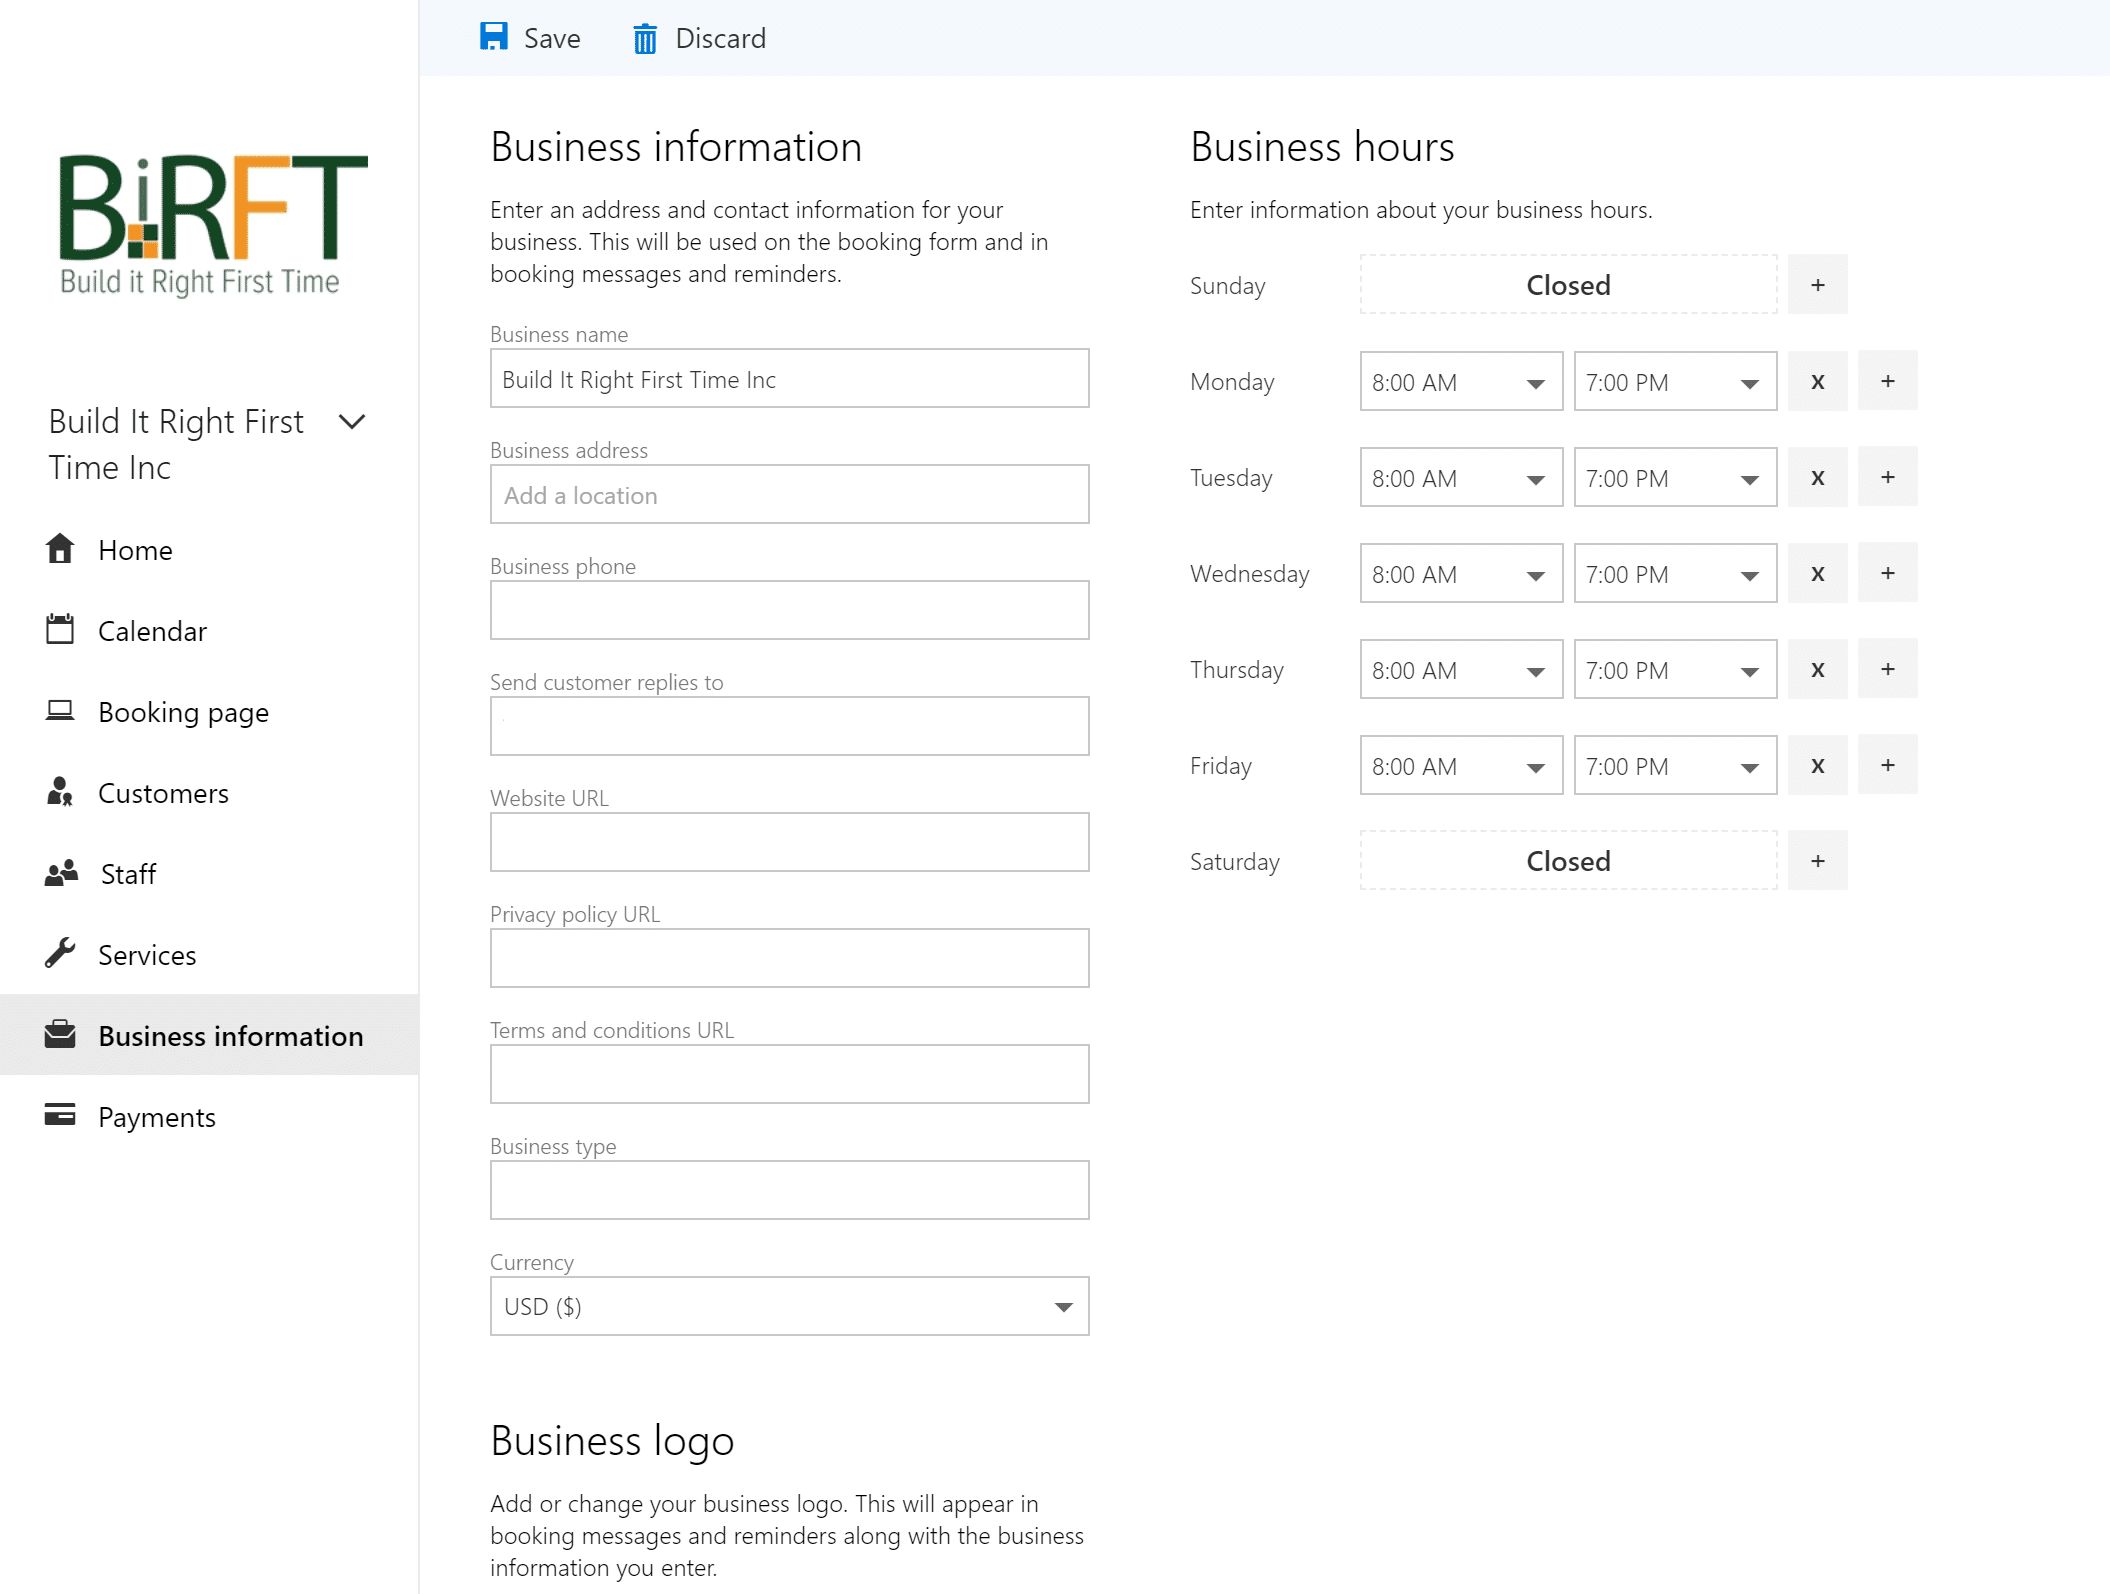
Business Information
Enter basic information about your business like name, phone, type of business and website URL. If you have a privacy policy and terms and conditions, you can also link to them here so when customers book, they will be able to review your policies.
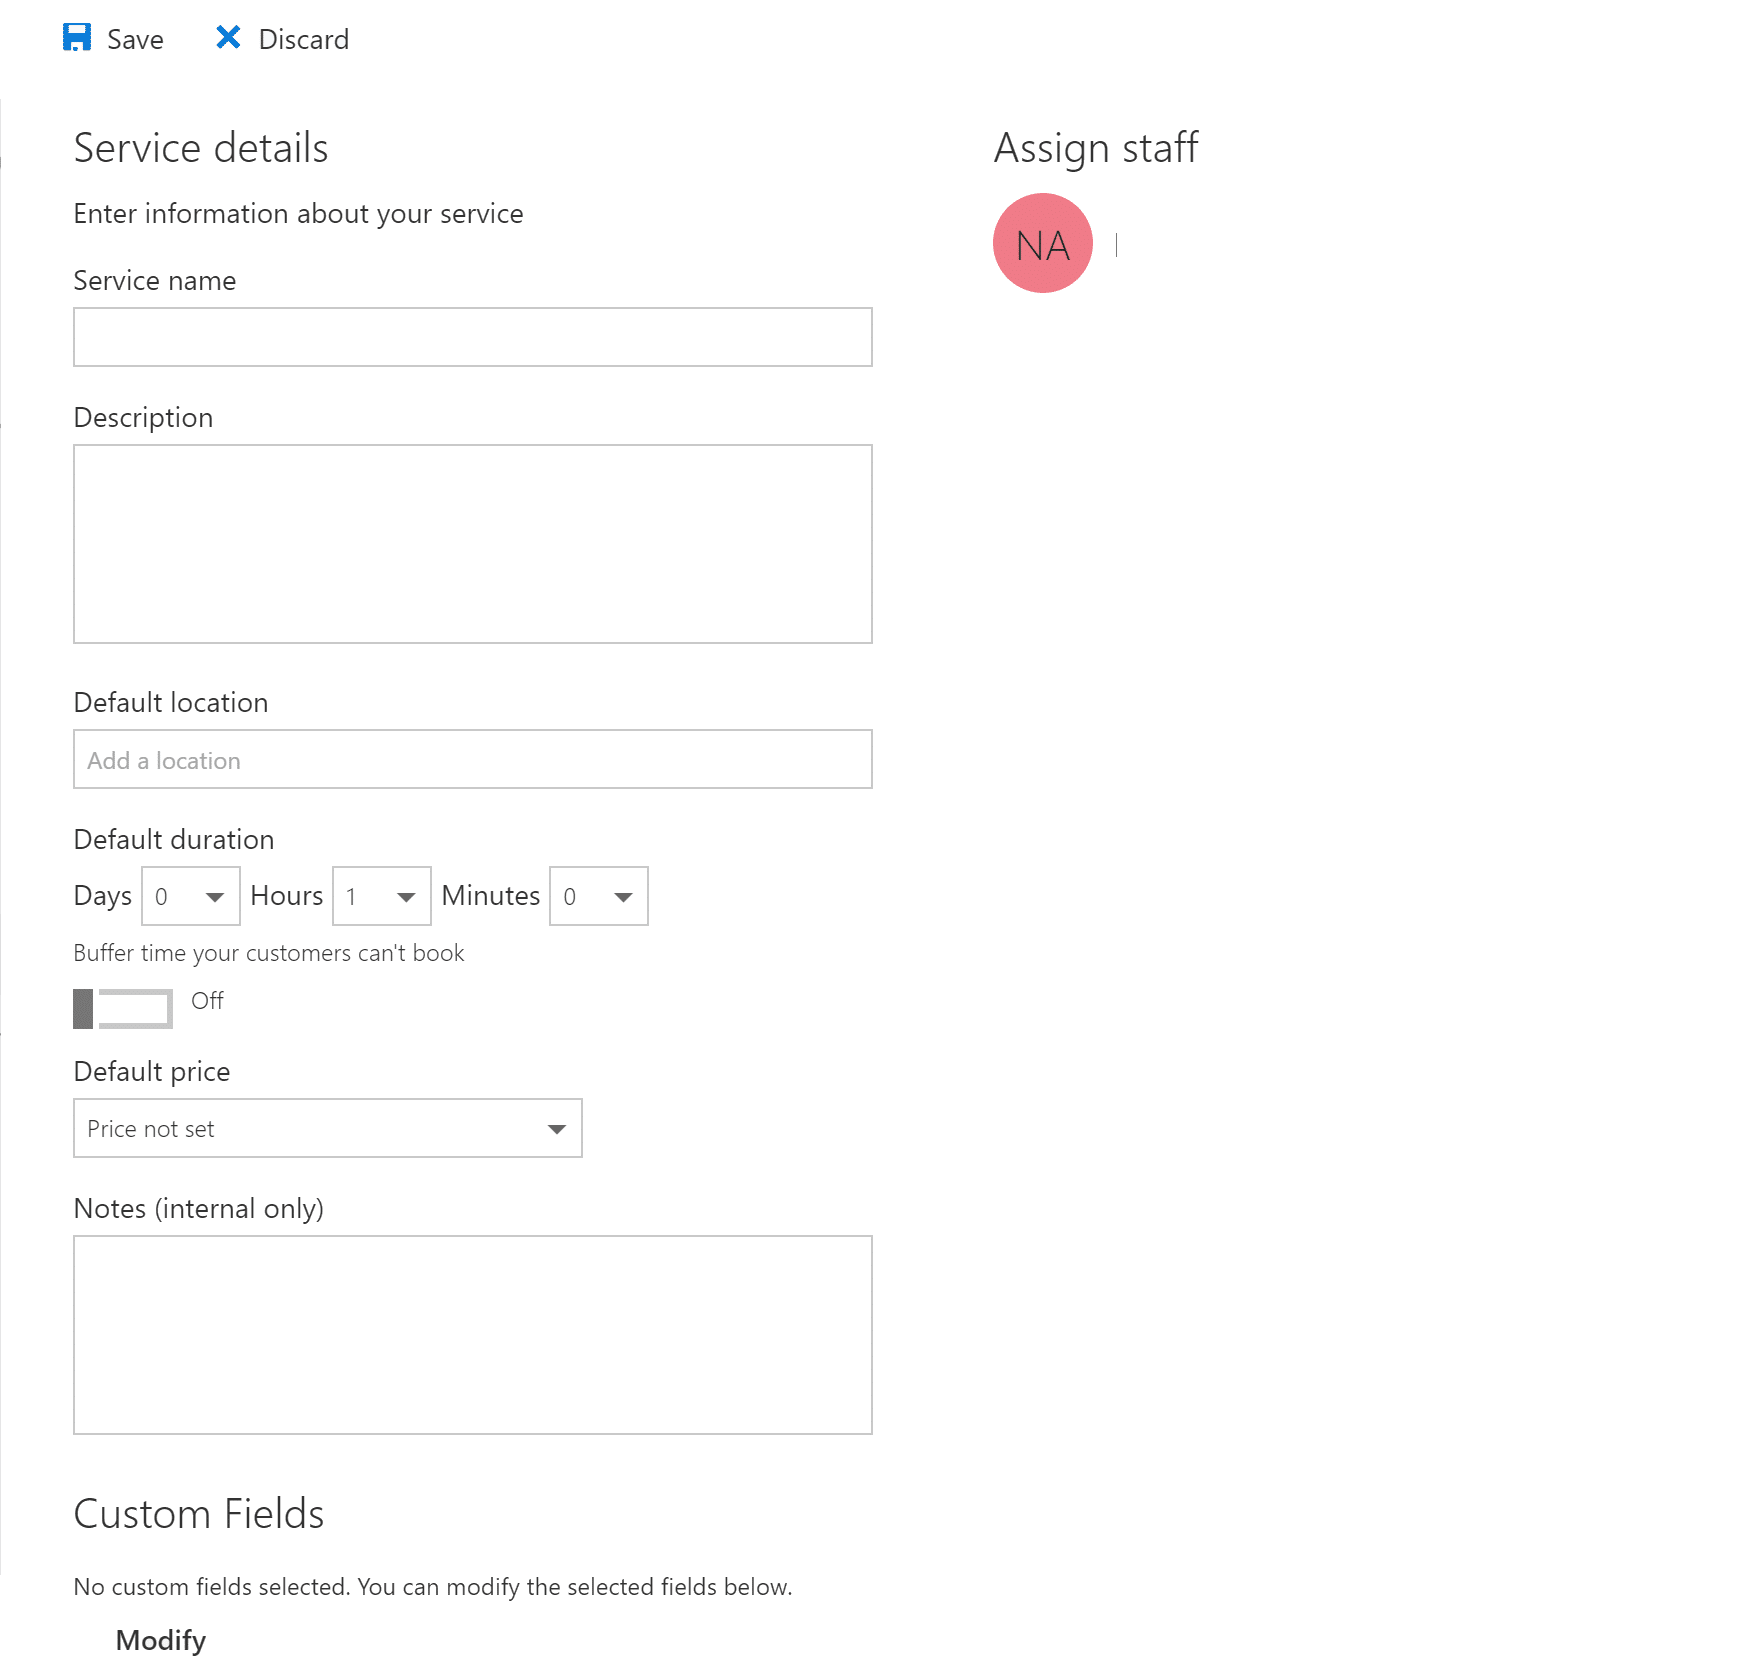
Services
Use this section to enter information for each service that you offer.
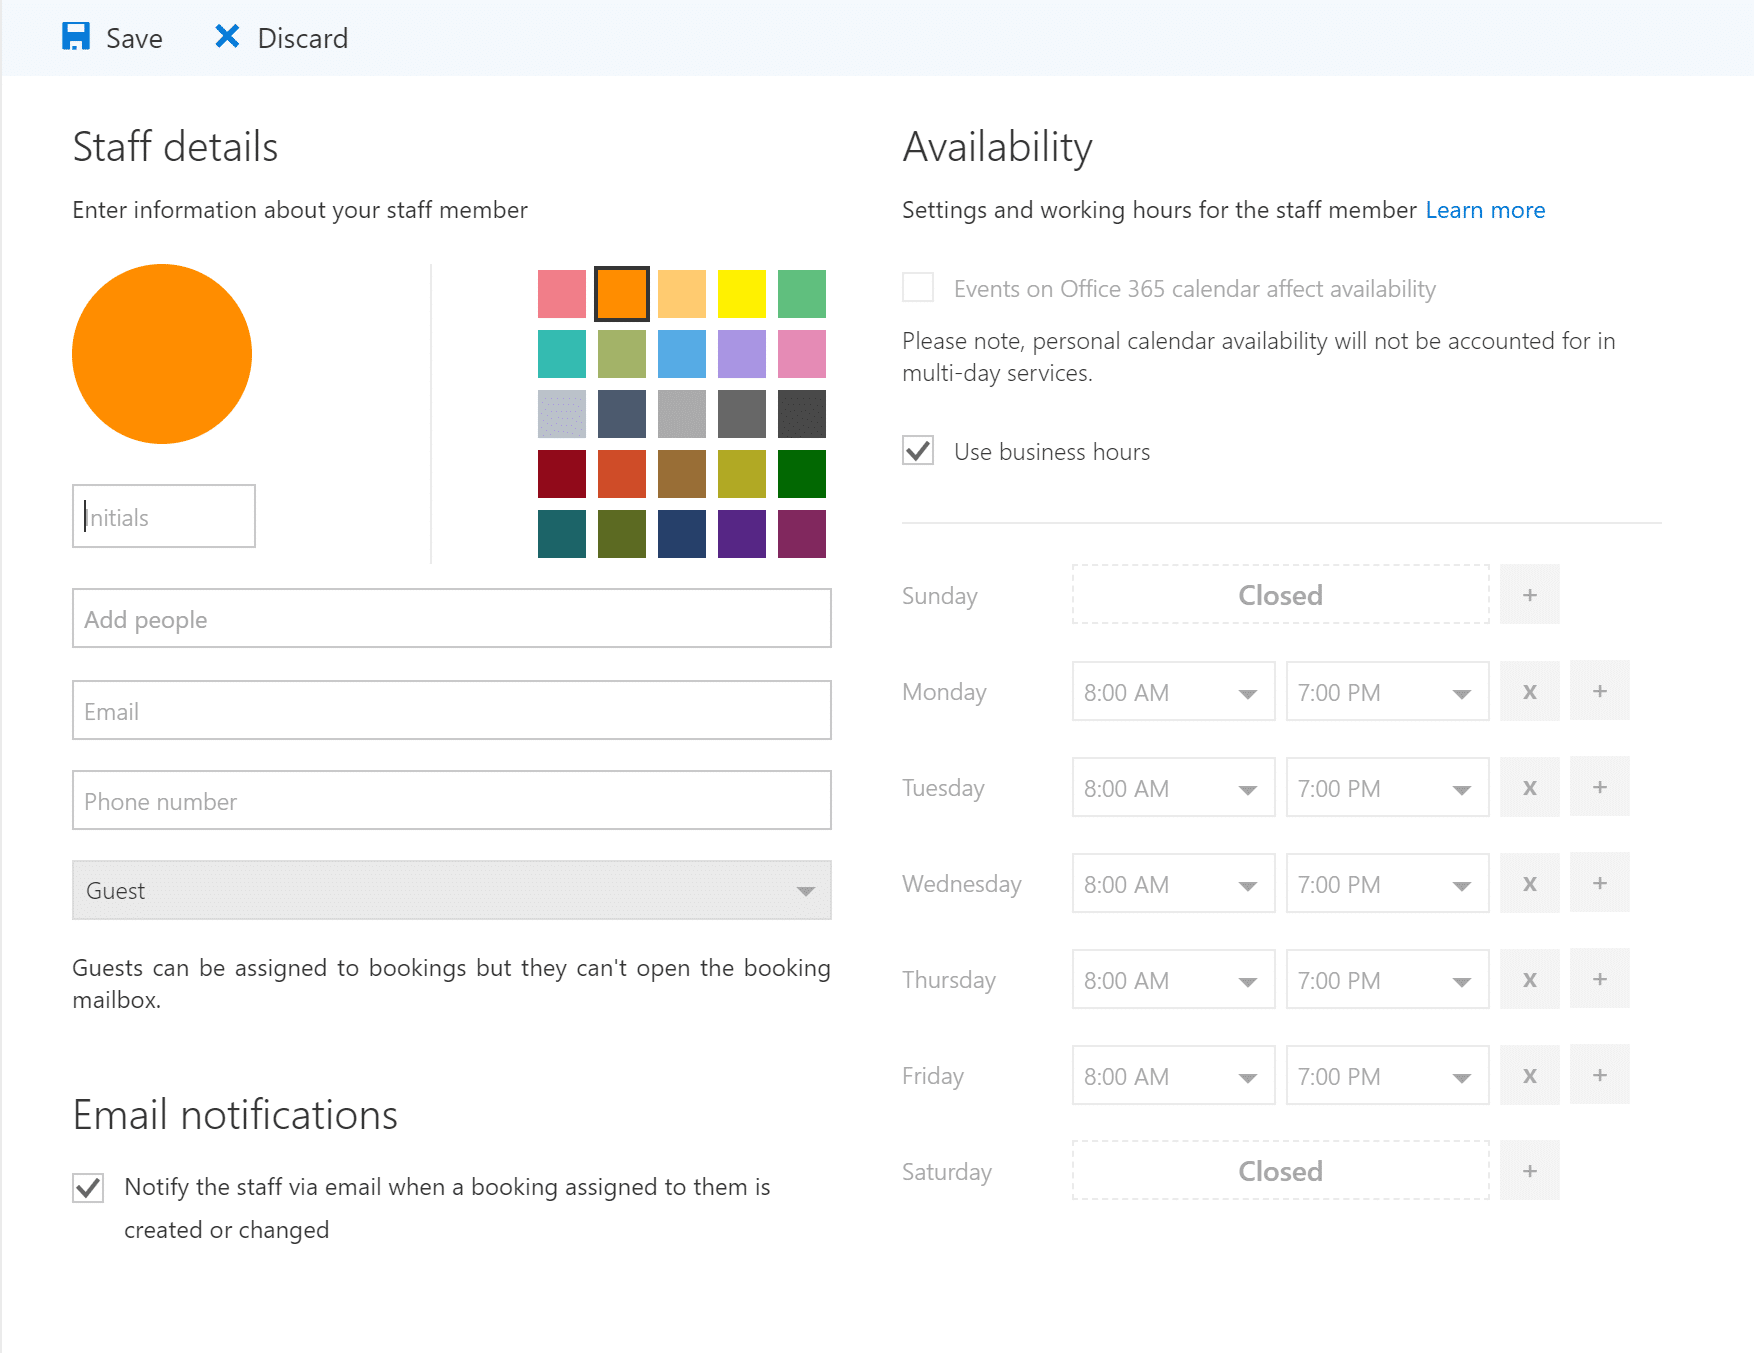
Staff
Enter staff contact info and their availability for appointments.
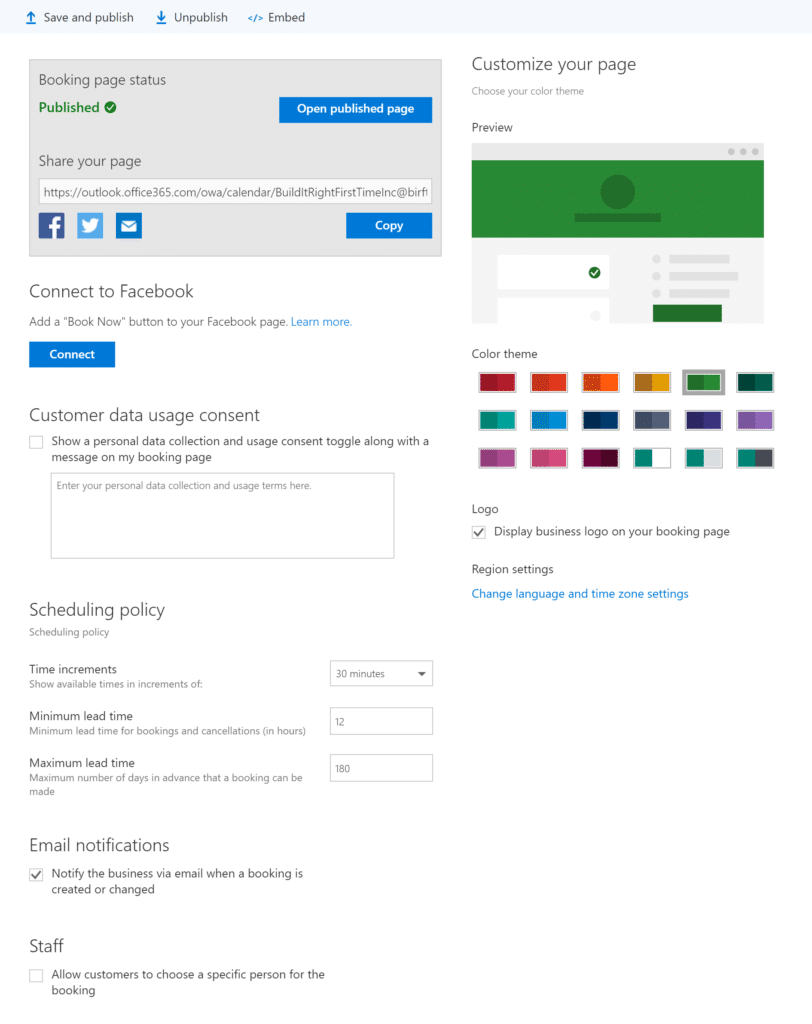
Booking Page
Configure default settings regarding scheduling such as intervals for available time slots and turning on/off email notifications.
Learn how Microsoft Bookings can benefit you.